Archive for the ‘Tech’ Category

Spiegler braided stainless brake lines

Wednesday, March 11th, 2015

I’ve been a Spiegler dealer for a lot of years and in that time I’ve yet to find a company who makes hydraulic lines that I’d prefer to use on my own bike. Their attention to detail rivals my own, and they rarely leave me thinking “I could have done it better this way”. Now, it’s easy to throw all the standard marketing lines at you and say things like:

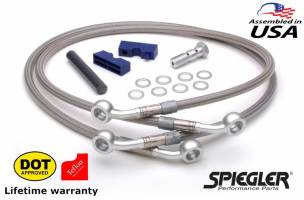
  • Spiegler brake lines are covered by a lifetime warranty.
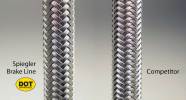
  • Spiegler uses only the finest materials like tight weave stainless braid, DuPont Teflon lining, and high grade stainless steel crimp sleeves.
  • Spiegler’s unique patented torsion fitting system allows for 360 degree rotation of banjo fittings. This allows you to correctly align your fittings and eliminate line “twist” that occurs with other lines.
  • Spiegler designs, develops, and manufactures all lines in their Dayton, OH facility.
  • Spiegler brake lines are DOT approved.

Here’s the rub though, and the reason I’m writing this now. It wasn’t until recently that I realized what a big deal that DOT rating is. I’ve long been aware that Spiegler is one of the only (if not the only) companies to carry that DOT rating in the braided stainless aftermarket. If you don’t believe me, ask other aftermarket companies that make braided lines and see what they say.

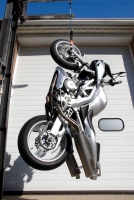
Now it’s one thing to do crazy publicity stunts like hanging an entire motorcycle from a single brake line (Spiegler did that – see pic at left) but it’s something else entirely to comprehend the severity of the testing the lines have to undergo in order to get that DOT rating (video below). If you haven’t watched the video I’ll summarize it for you – in order to get a DOT certification Spiegler lines must be pressurized to 235 PSI while spinning at 800 RPM for 35 hours! That is 1.68 million revolutions while under 235 pounds of pressure!

Now this kind of testing costs money and it isn’t “sexy” which explains why most aftermarket companies don’t bother to get the certification. Instead they spend that money on fancy packaging, marketing, or just profit which explains why sometimes they can be a little cheaper. But after seeing the video I realized why Spiegler makes the safest and most reliable brake lines you can buy and that is the kind of quality and peace of mind I want installed on my bike if I have to brake in an emergency situation.

If you’re interested in Spiegler brake or clutch lines (or anything else Spiegler has to offer), please drop us an e-mail and we’ll be happy to set you up with whatever you need.

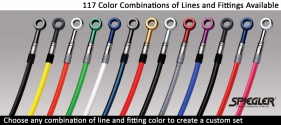
Spiegler lines and fittings are available in 117 different color combinations (including chrome) to fit your needs. You can go to the Spiegler website here and click “brake line color selector” on the left OR you can download the free color selector app for your smartphone (available for both iPhone and Android).

Since Spiegler makes everything in house we can also order custom lengths specific to your bike (let’s say you have taller handlebars or risers) or if you’re working on a truly custom project we can have a complete custom line set built to your specs. There is a guide on measuring for custom lengths on Spiegler’s website here. Just find out what you need and contact us, we can get it special ordered and out usually in under 48 hours.

Dobeck Performance AFR+ fuel manager coming to the VTX

Thursday, May 15th, 2014

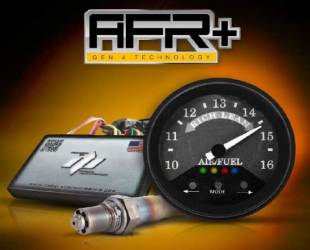
A few weeks ago during a routine conversation with Dobeck Performance the idea of them importing their AFR+ technology to the VTX was discussed. Many of you know Dobeck as the company behind the Techlusion (TFI) fuel manager, but you may not realize that Dobeck is behind many aftermarket fuel managers marketed under other names like the HMF Optimizer, Arlen Ness Big Shot, Two Brothers Juice Box, Wiseco Fuel Management Controller, and Revtech DFO just to name a few. Mark Dobeck actually founded Dynojet before moving on to start Dobeck Performance in 1997.

The AFR+ fuel controller is a combination of Dobeck’s Electronic Jet Kit (EJK) and SAFR units. The EJK is their flagship standalone fuel manager and the SAFR is a diagnostic tool that uses a wideband O2 sensor/gauge combo to show your bike’s real-time air/fuel ratio. Combining these units into one gives the AFR+ the ability to function as both an open and closed loop fuel manager. This means you can dial it in for your bike, but then it will take over and self-adjust. No more expensive trips to the dyno, and the air/fuel gauge lets you always be sure you’re running right. You can check out videos showing all the units on their YouTube channel.

The install and testing of the unit will be done by “big bad” as he’s the one who wanted to pay for and test the unit even though it’s not technically fully “polished” for the VTX. Even though Dobeck’s AFR+ technology is fully functional, there might still be some small tweaking that needs to be done specific to the VTX. The entire process including installation, testing, and finalization for the VTX market will be discussed in this forum post. Please come on over and join the discussion!

If you’re interested in an AFR+ unit or anything else Dobeck has to offer, please drop us an e-mail and we’ll be sure to get you set up with whatever you need.

Making progress!

Tuesday, March 19th, 2013

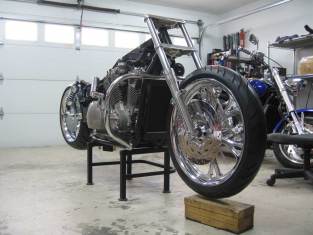
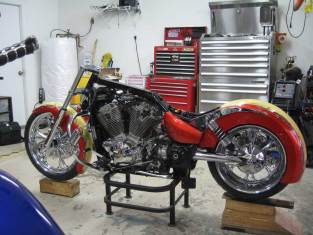
I’ve been neglectful in posting updates and pics on this project, I know. Everything is moving along, just slowly, while I wait on a few parts to come back from chrome (again). All the work and parts were scheduled to flow perfectly, but some issues with chrome quality meant sending parts back to be re-dipped. Unfortunately sometimes delays like this are simply the cost of doing business when you want everything perfect at the end.

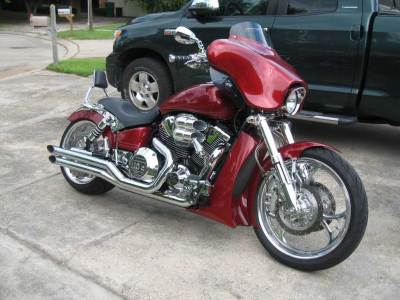
Anyways, to satisfy those interested until I get the last few bits back from chrome and finally finish this beast, here are some pics of when I got it into a rolling chassis and when I first test fit the fenders.

If anyone has questions or is interested in chiming in, you can get involved on the forums here.

New project in the works…

Saturday, January 19th, 2013

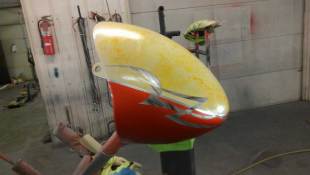
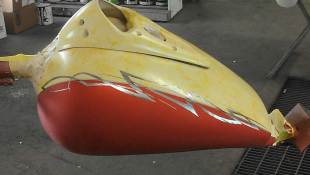
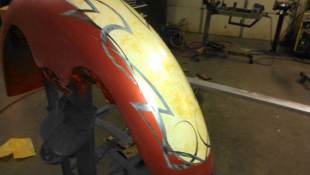
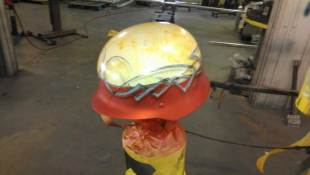
I’ve got a new project in the works, should be really nice when it’s done. Hopefully I’ll get pics up sooner than I have with Candy (my project from 2011). For now, here are pics of the paint, still in progress.

Batwing fairing project complete…

Sunday, June 24th, 2012

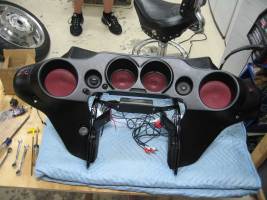
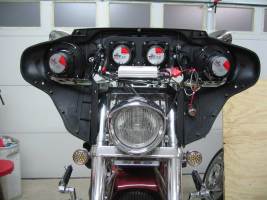
This marks the culmination of a project that was discussed seemingly forever but never tackled. This project involved taking a Harley batwing fairing and heavily modifying it to fit the VTX in a specific manner. I know this isn’t new to the VTX world, I just tackled it with a slightly different flair… 🙂

I’ve written up some of the details here in the tech pages, and discussion, questions, etc are all taking place here on the forums.

Melted main wiring…

Wednesday, October 19th, 2011

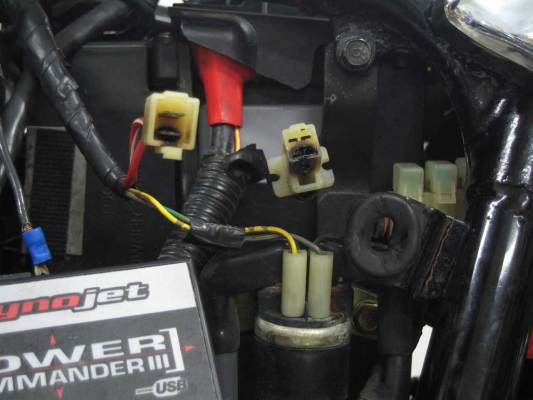
I just thought I’d throw this out there as a “service bulletin” for anyone interested. I took a bike in recently for work because the fuel pump would not prime. I suspected the pump was fine, everything else on the bike was in working order and the bike was intermittently shutting down while out on the road. 35k miles on the odometer, all the simple checks came back fine – relays in working order, kill switch functions, etc, etc, etc… What struck me as odd was that you should always get battery voltage (~12V) at the engine stop relay, even with the key off. I was reading battery voltage there with the key off, but when I turned the key on this voltage dropped to roughly 1.5V. I figured I had either a serious draw/short somewhere that wasn’t tripping fuses, or something like what I found…

Under the left side cover you have your main battery cable that feeds your 2 main 30A fuses. The wiring from those 2 main fuses then runs through a simple 2 pin plug before running over to the keyed ignition and so on. The plug looked almost perfect upon a cursory inspection, but when I went to separate the plug is when it got interesting:

This was the source of the problem on the bike and unfortunately it was caught too late to save the plug and some of the wiring. I had to replace several inches of wire and add a whole new plug. This was simply a matter of corrosion buildup on the connectors over time and could have been avoided with a little contact cleaner to clean up the contact areas. It won’t hurt to separate this plug, clean the contacts and then pack them with a little dielectric grease to prevent further corrosion (just don’t go overboard with the grease). 😉

Valves… Done… Finally!!!

Tuesday, July 12th, 2011

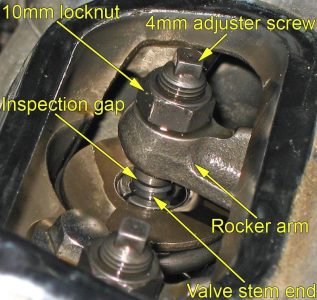
For those who patiently waited (and those who not-so-patiently harassed me through email :)) I finally finished the write-up for adjusting the valves on the VTX 1800. As soon as I can get a VTX 1300 apart to snap comparable pictures I’ll adapt the existing write-up to the 1300 also. In the interim, feel free to check it out here.

I want to give a big thanks to the guys who helped “proof” the finished article, without their assistance and insight there’s no telling how much longer this might have taken.